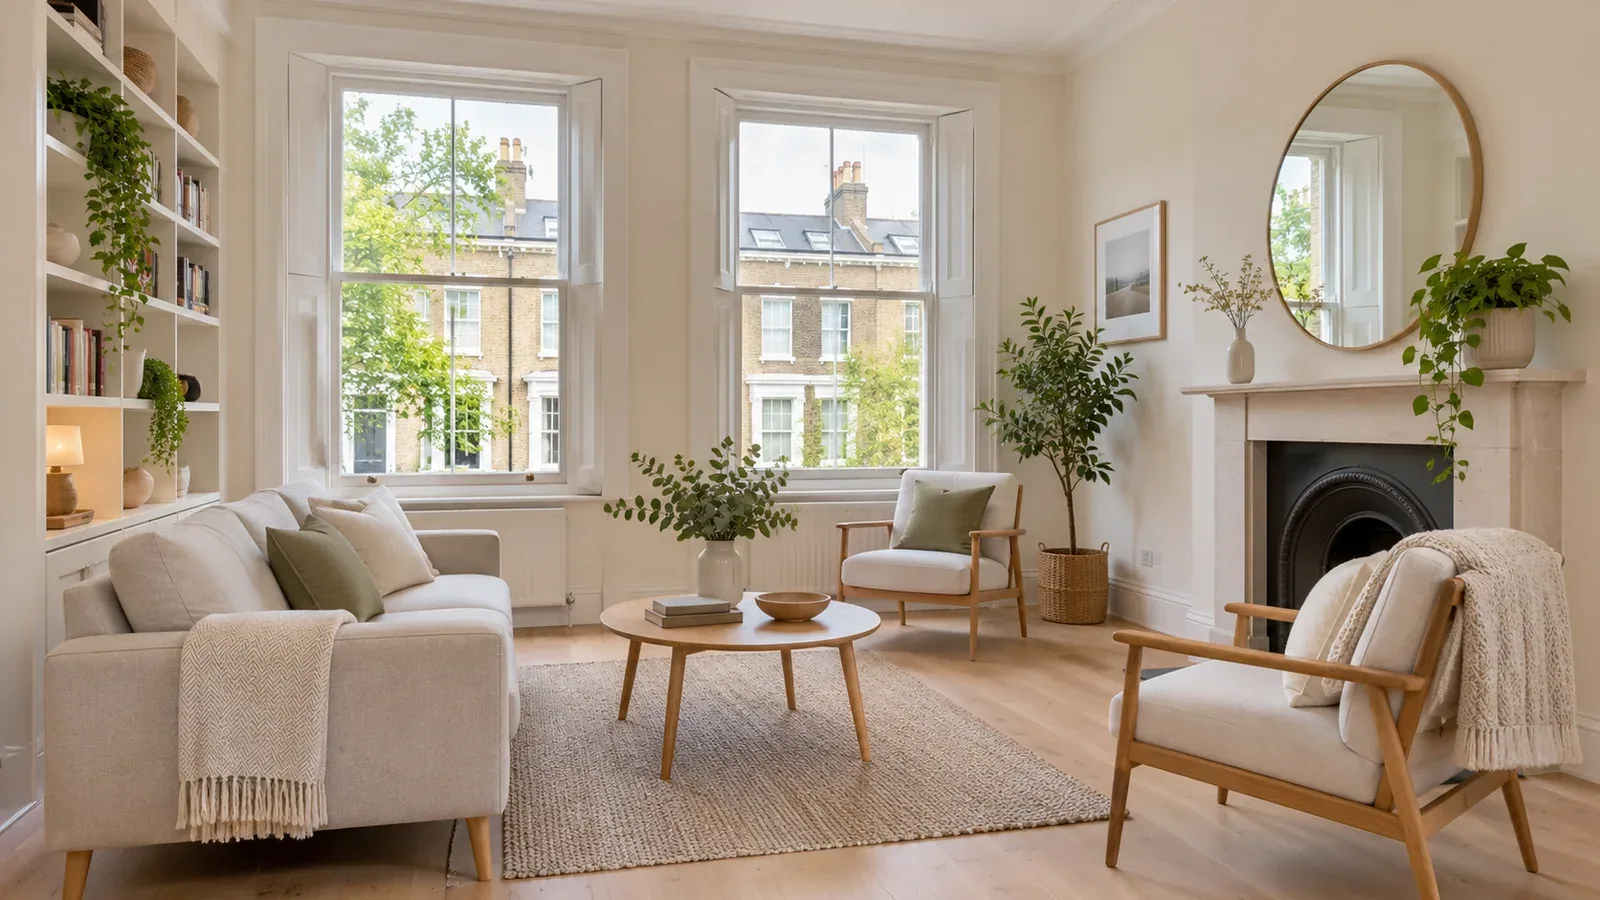
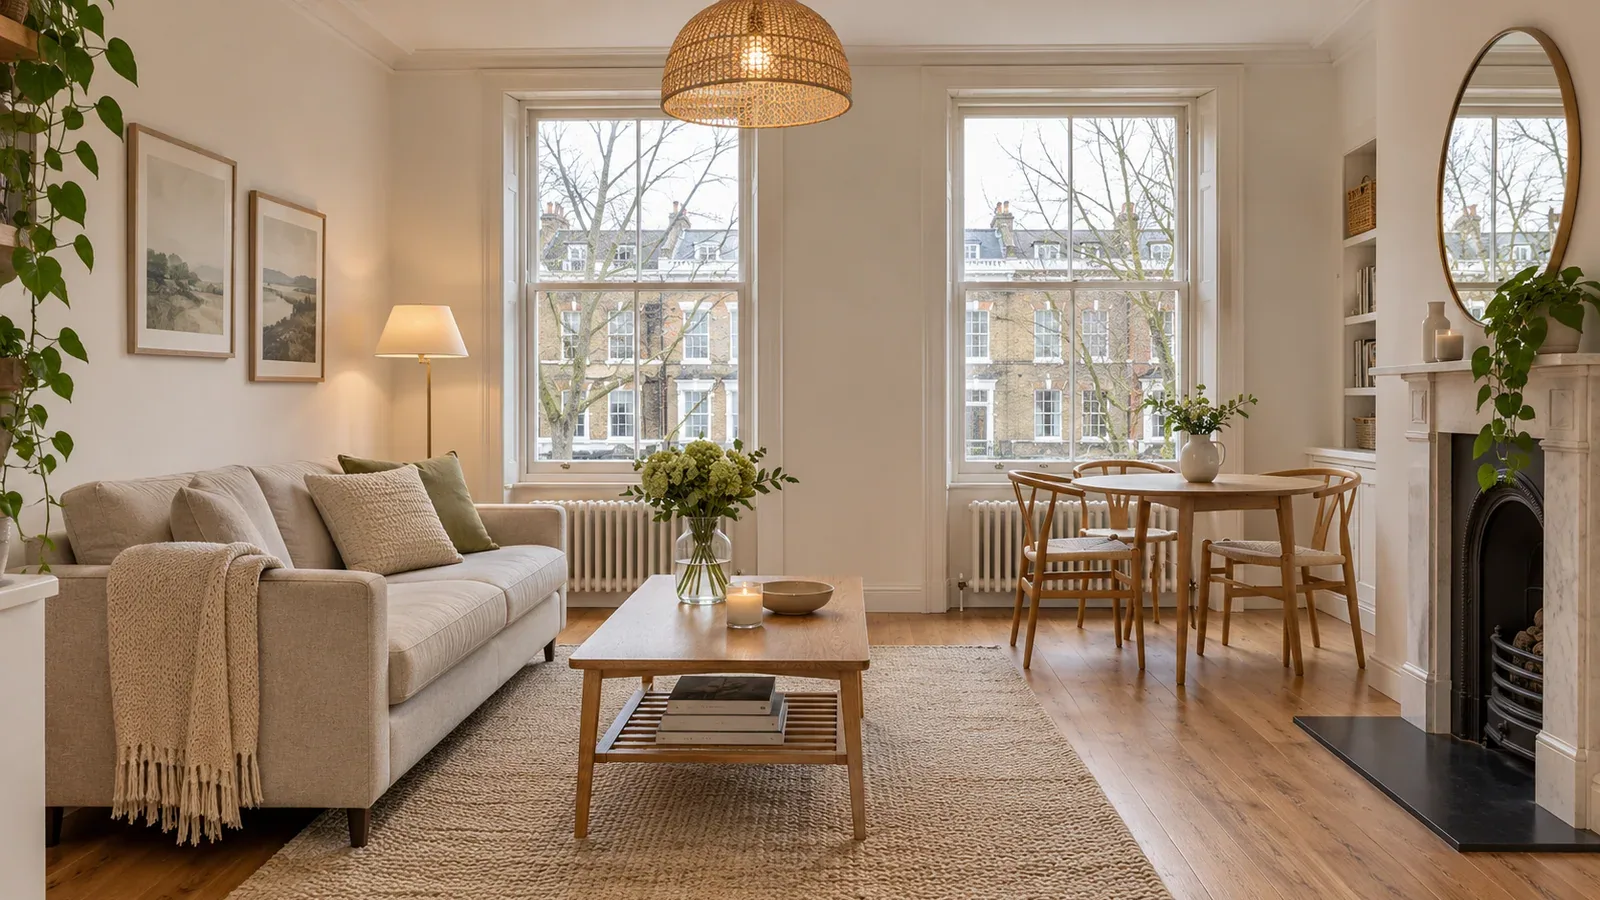
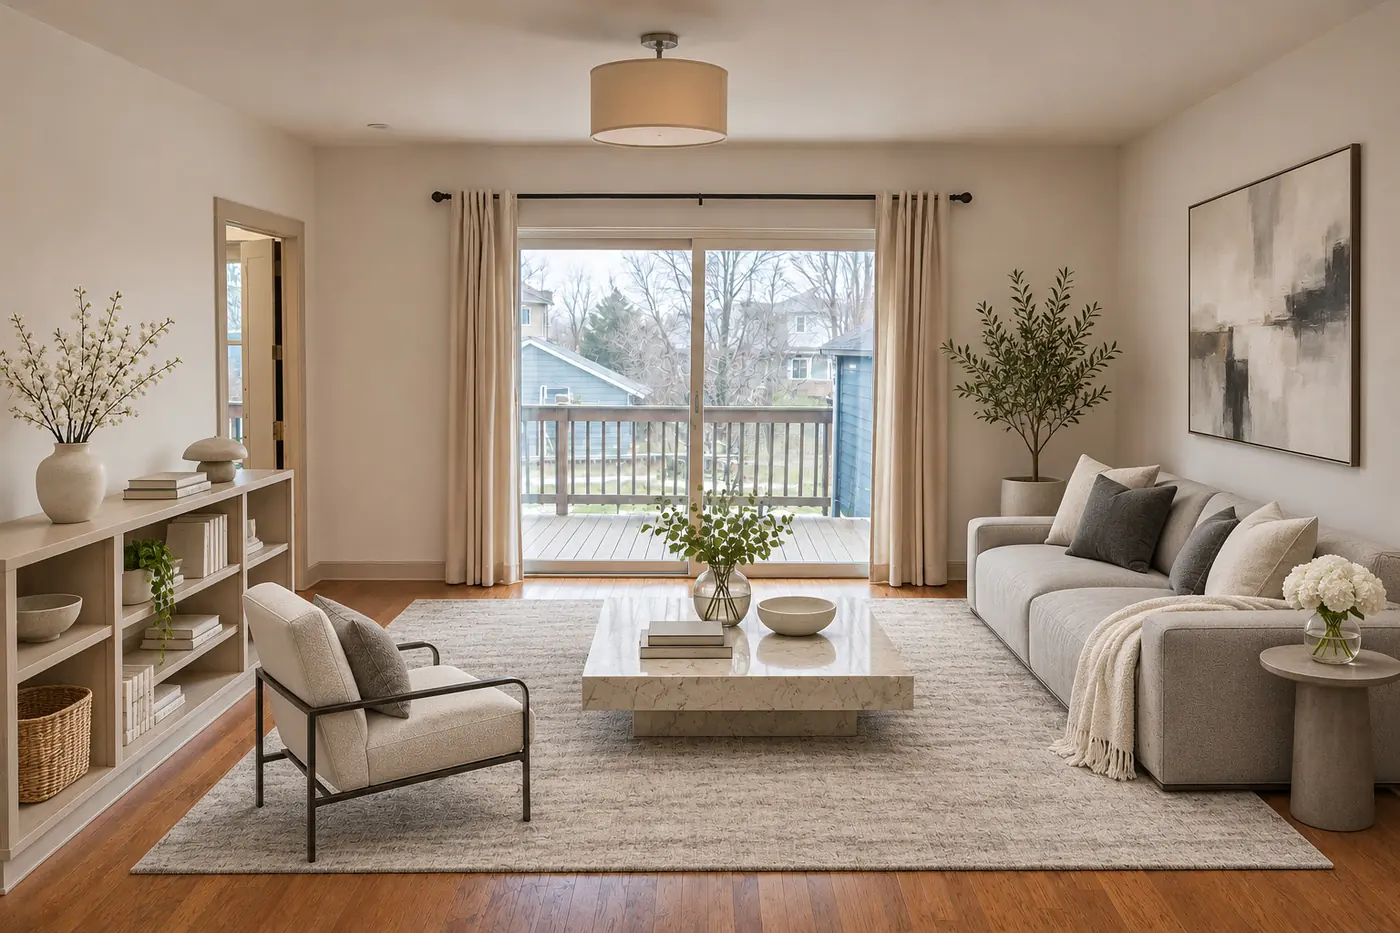
In much of Europe, a clear blue sky is not something you can schedule. Postponing a shoot costs days on the market; publishing grey photos costs attention. Sky replacement solves the problem – as long as the original photo gives it something good to work with.
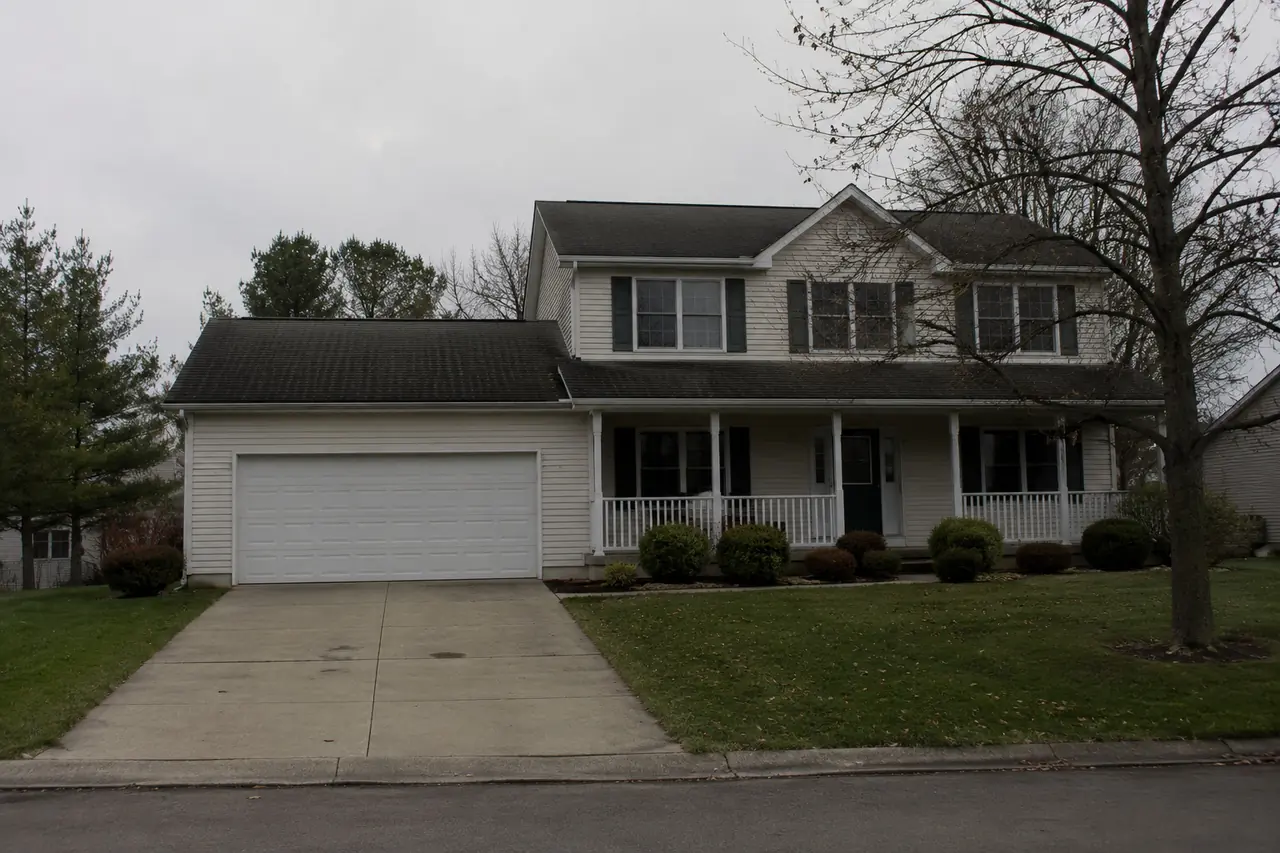
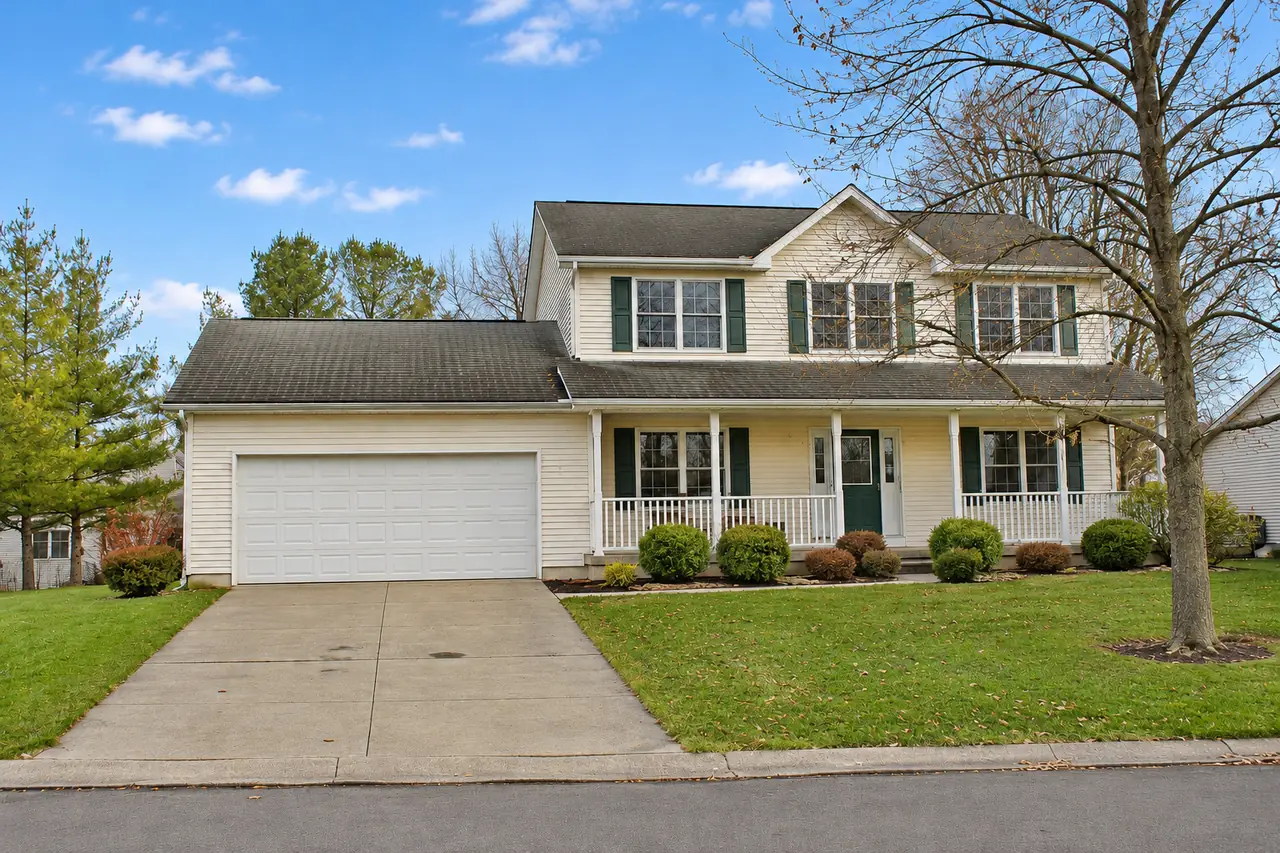 BeforeAfter
1. Expose for the building
The sky will be replaced anyway, so expose for the façade and keep detail in the shadows. If you shoot RAW, upload the RAW file directly – there is more latitude to brighten the house without noise.
2. Frame with some sky
Leave a band of sky above the roofline. A photo cropped tight to the gutter gives the edit almost nothing to replace and looks unnatural afterwards.
3. Watch the edges
Bare branches, antennas and fine railings against a white sky are the hardest areas for any sky replacement. Step slightly to the side so that complex tree lines do not cut through the main roof outline.
4. Don’t forget the windows
A grey sky reflected in the windows next to a blue sky above looks wrong. Our Enhance & Sky tool also replaces sky that is visible through or in windows, but it helps to avoid shooting straight into large reflective glass.
5. Keep the set consistent
- Use the same tool for every exterior in a listing so the skies match.
- For interiors with windows, Enhance & Sky brightens the room and cleans up the view outside.
- Check every result before publishing; re-run a photo if anything looks off.